This post is about my latest project, the Herringbone baby quilt. I spotted the pattern on pinterest (here) and absolutely adored it. However there was no pattern or tutorial or really anything that helped me know how to make it. I've never quilted before, so there was a lot of trial and error involved since I didn't have the pattern but I think the end result was satisfying enough.
I'm so much of a novice quilter that I didn't even know what the right dimensions for a baby quilt were...Google to the rescue! The general consensus for a good sized baby quilt was somewhere around 40x50. I then did a lot of math (not my strongsuit) to try and figure out how many squares I would need and how many yards of fabric I should get...it was a long and complicated process that I'm still not sure I knew what I needed by the end of it. I ended up with 1 yard of Cream cotton (40"x36") and 2.5 yards of Gray cotton (40"x90"). I got a cut of batting that was a yard and a half (40"x54") and two packages of blue double fold bias tape (??? yards).
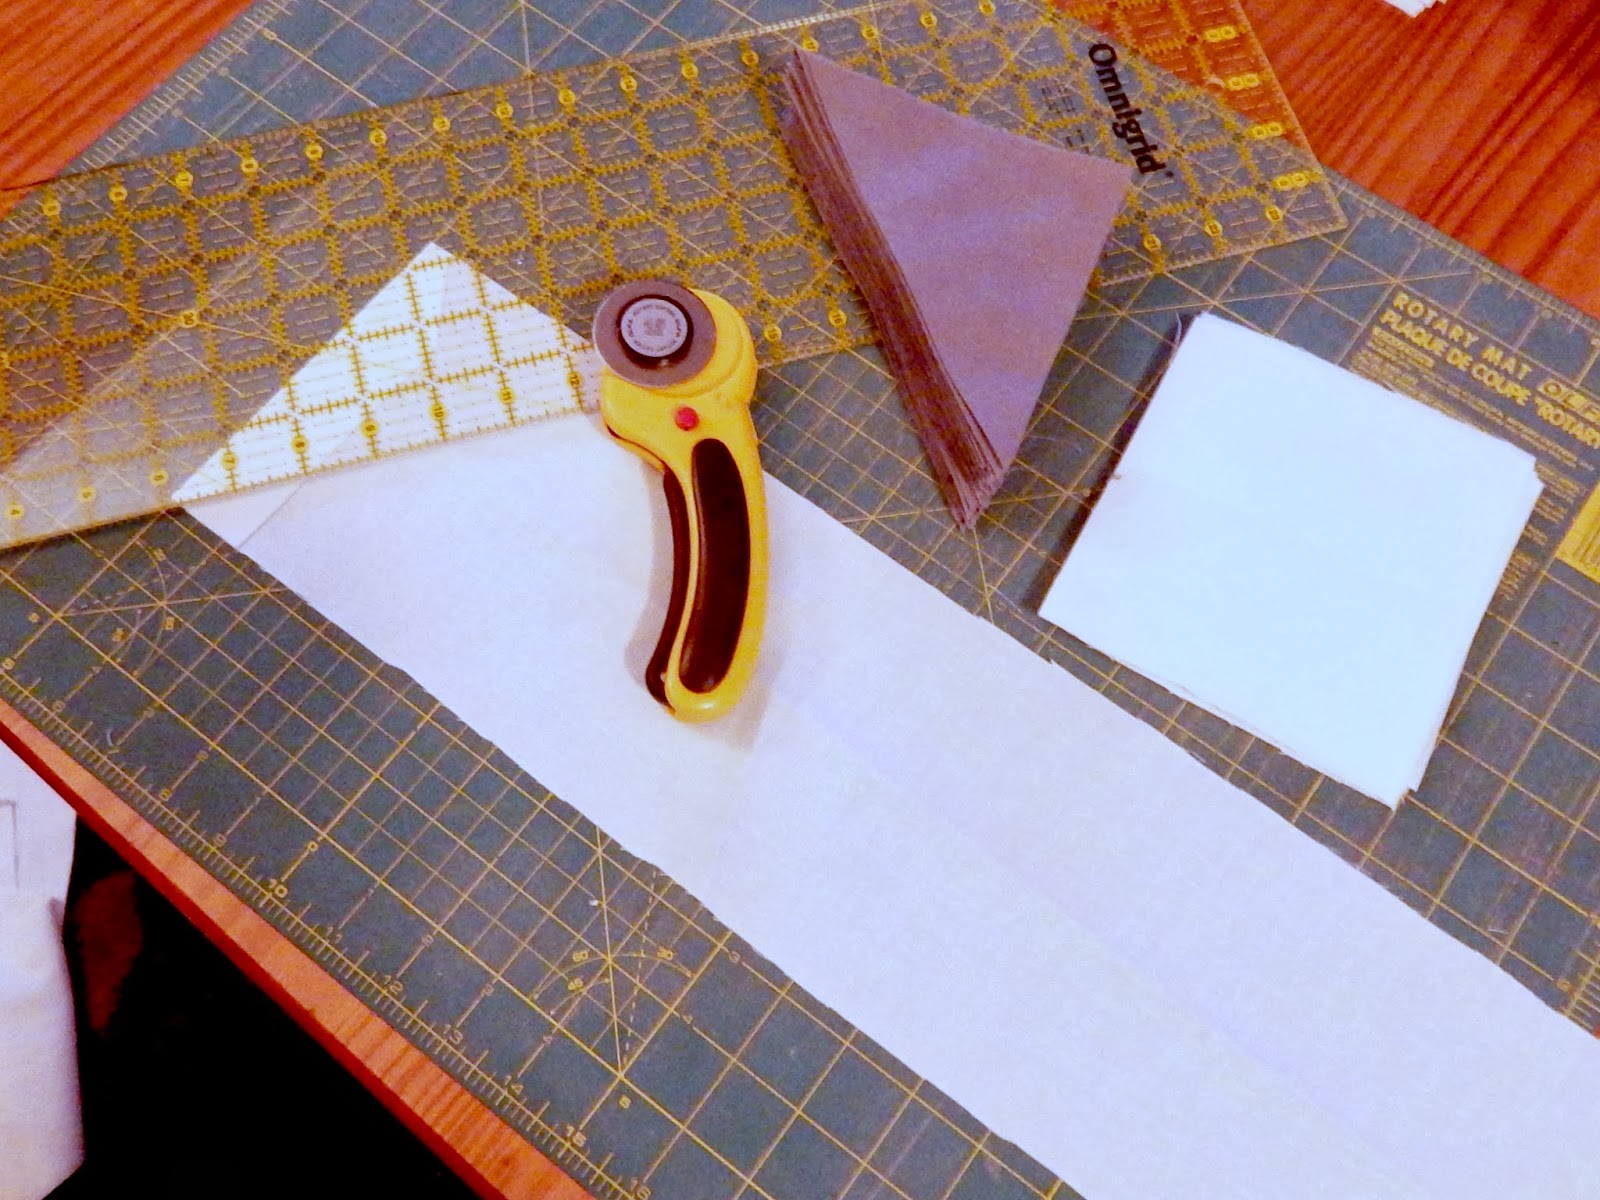
First I made sure I had enough of the Gray fabric saved for the backing and cut that off of my Gray fabric block (40x50).I cut the Cream and Gray fabrics into 5.5 wide strips by however wide the fabric was (40" I think) and then cut those into 40 (per color) 5.5" squares. Next I halved all of the squares diagonally making triangles. I ended up with 80 triangles of each color. (This got me into a little trouble because apparently my math was a little off and once sewn together the quilt as a whole was about 2" short on every side so I added a 2" gray border). You can figure out your math based on how big you want your quilt...and whatever you do, don't ask me to do your math for you! Anywho...I sewed each triangle to a triangle of the opposite color with a 1/4" seam allowance and then ironed open all of the seams. This gave me 80 bi-colored squares. (I did not have very much Cream fabric leftover, maybe two extra squares - so if you want to buy more of that for insurance you can).
(It gets easier after this...)
I laid out all my squares in the herringbone pattern on my batting and backing that was laid on the floor. Then I started sewing the squares together in rows (from right to left but it really doesn't matter as long as you get strips of squares sewn together and are able to sew them to the next row) Make sure you iron all of your seams open! This was by far the slowest most tedious part for me. (I also had to add my 2" border...because I'm bad at math...).
Once I had all the squares and rows sewn and the borders put on a pinned my batting, backing and top piece all together. And went to work quilting. After I'd gotten a few rows started and was very frustrated because I was having to shove mounds of fabric through my machine which was making for very crooked lines my Grandma told me that I should start from the middle...(good idea Grandma!). She also told me that my batting was really thick...*sigh* learned the hard way I guess...anyway, my method of quilting was to run the edge of my presser foot against the seam and my needle was positioned farthest away from the seam. Something like a 1/4" quilting line on either side of the seam.
My last step was the binding. I found a good tutorial on youtube that I used to know how to do it. I followed the tutorial for the front steps and then hand stitched the backside of the binding so that I could be sure that it was neat. Yes...I learned quilting from the internet. Pathetic I know. If I do any future quilts I promise I will find someone that actually knows what they're doing to tell me how to do things.
This was just one big adventure in quilting for me! I'm sure there are many great quilters out there who will be able to help you better understand how this quilt should be made, so go out and find them! I'll just be over here trying to find someone to tutor me in math again....


No comments:
Post a Comment